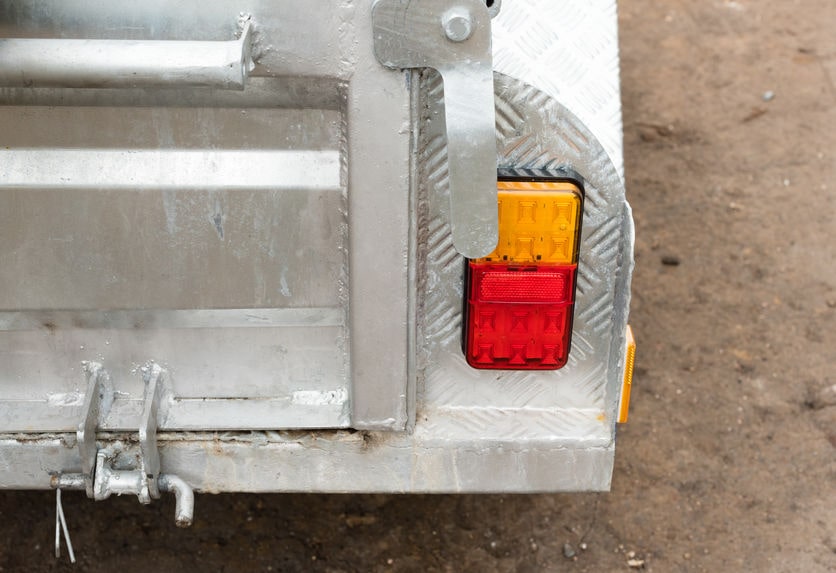
Malfunctioning trailer lights can put an end to your travel plans pretty quickly. Properly functioning lights are essential for safety.
Verifying the proper function of trailer lights each time you tow your trailer prevents accidents. Luckily, if you uncover any lighting system issues, you can quickly and easily address them with a few basic tools.
Tools You’ll Need to Fix Trailer Lighting Issues
Leaving these items in your glove box or tool kit ensures you’ll have them on-the-go.
- Replacement bulb kit
- Wiring kit
- Electrical contact cleaner
- Sandpaper (220 grit)
- 3/8-in. dowel
- Tow vehicle tester
Note: Check your vehicle’s plug configuration before purchasing a tester. Cost is minimal: $5 for standard 4-prong testers; $25 for double-ended 4/7-prong testers. - Jumper wire
- 4-in-1 screwdriver
- Nut driver
Steps for Solving Common Trailer Lighting Problems
- Verify the lighting wiring system is working.
Plug your tow vehicle tester into the connector and verify the trailer wiring system is working. If the tester shows a problem, check your vehicle for a blown fuse, burned out bulb, or bad flasher. Also, look for broken wires near the connector. After addressing the problem, recheck.
- Check for dirty connectors.
Clean the trailer light wiring connector on the tow vehicle and trailer with electrical contact cleaner. Gently brush the contact pins with a fine wire brush.
- Check the ground connection for the trailer lighting system.
Ground issues are involved in many trailer lighting problems. Clean and tighten the ground wire, ensuring contact with the metal frame. Sand the terminal and trailer chassis contact. Replace the ground screw if you see corrosion.
- Look for burned out bulbs.
If you have a single running or blinker/stop light out, you probably just need to replace the bulb.
- Sand corroded sockets.
If you notice corroded sockets when replacing bulbs, sand them with a bit of sandpaper glued on the end of a 3/8-in. dowel. Spin the dowel in the socket and move it from side-to-side. Add a touch of dielectric grease and reinsert the bulb. If it still doesn’t work. Make sure the mounting bolts for the light have clean contact with the trailer frame, sanding if necessary.
- Perform a continuity test.
Connect your continuity tester to the sockets and your jumper wire to the connector pins, checking each connection. The bulb will light if the circuit is good.
Still Having Problems with Your Trailer Lights?
Some trailer wiring lighting problems can be time-consuming and maddening, hiding within the harness or trailer lighting system. If you’re still experiencing lighting issues, make an appointment for a professional check of the lighting system.
Not much left of your old trailer lighting system but corrosion and rust? Get it replaced and get back on the road fast with the help of Ainsworth Trailer Repair today.